
Take your dishes to the next level with this irresistible homemade Garlic Aioli recipe! Made with roasted garlic, creamy mayo, and zesty lemon juice, it’s perfect for dipping, spreading, or as a flavorful topping. 
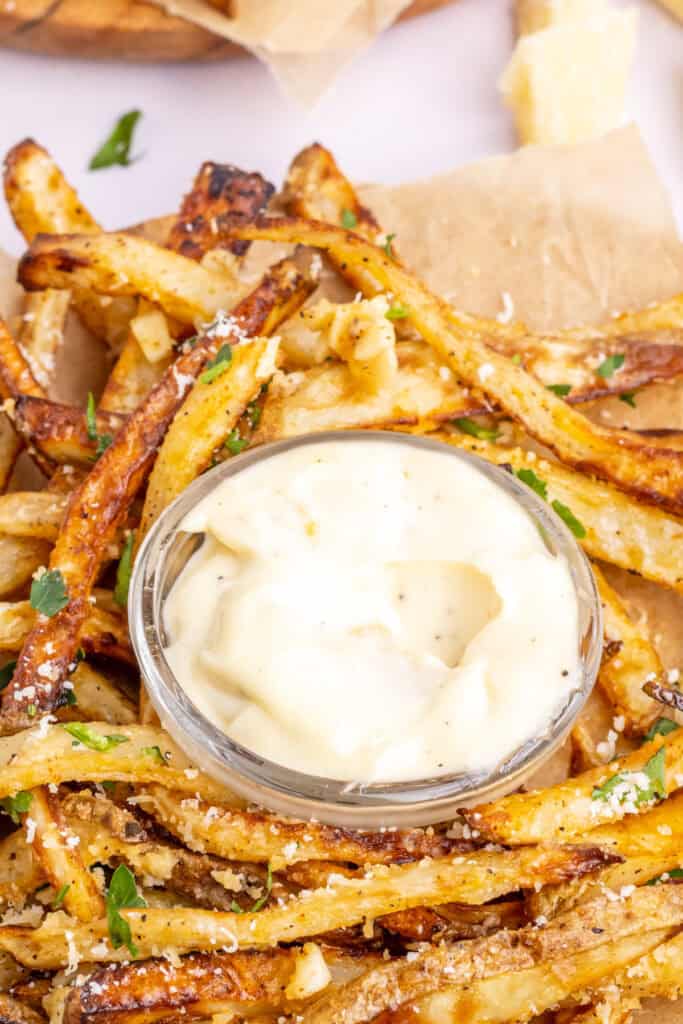
Table of contents
- What Makes Aioli Sauce So Special?
- Garlic Aioli Sauce: Ingredients & Equipment
- Ingredients
- Equipment
- How to make Garlic Aioli
- Serving Suggestions for Garlic Aioli
- Garlic Aioli: FAQs
Click HERE to pin this recipe!
Elevate Your Culinary Creations with Homemade Garlic Aioli
Are you ready to take your dishes to the next level? Look no further than the timeless classic: Garlic Aioli. This versatile sauce, known for its creamy texture and bold flavor, is a must-have in any kitchen arsenal.
What Makes Aioli Sauce So Special?
Aioli sauce, originating from the Mediterranean region, is traditionally made with garlic, olive oil, and egg yolks. However, the star ingredient that sets garlic aioli apart is, you guessed it, garlic! When roasted, garlic develops a rich, caramelized flavor that adds depth and complexity to the sauce.
The Versatility of Aioli Sauce
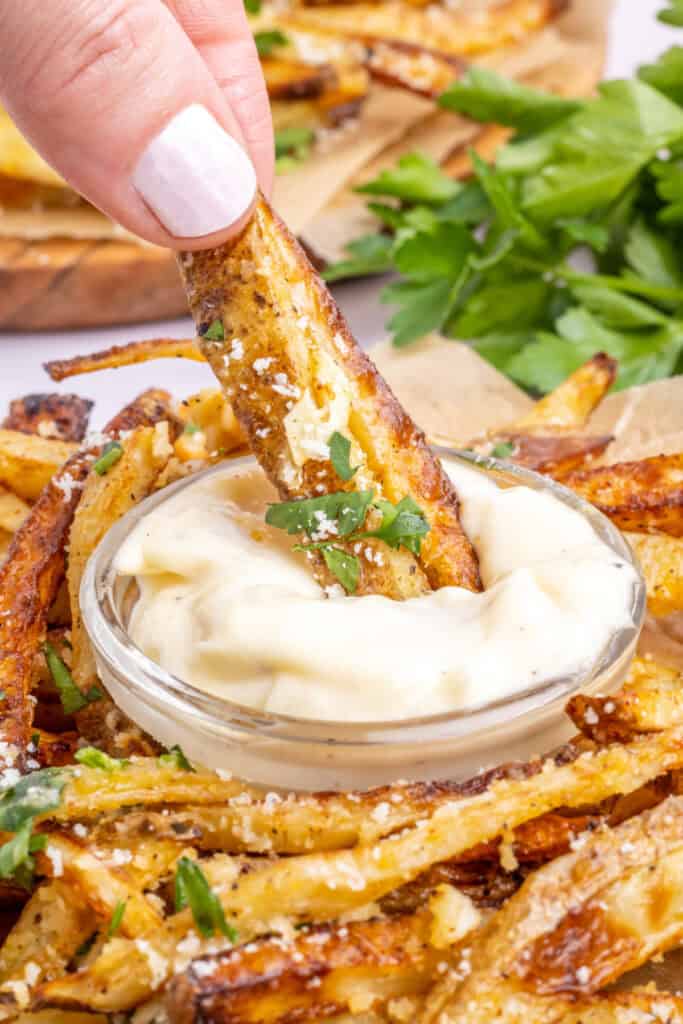
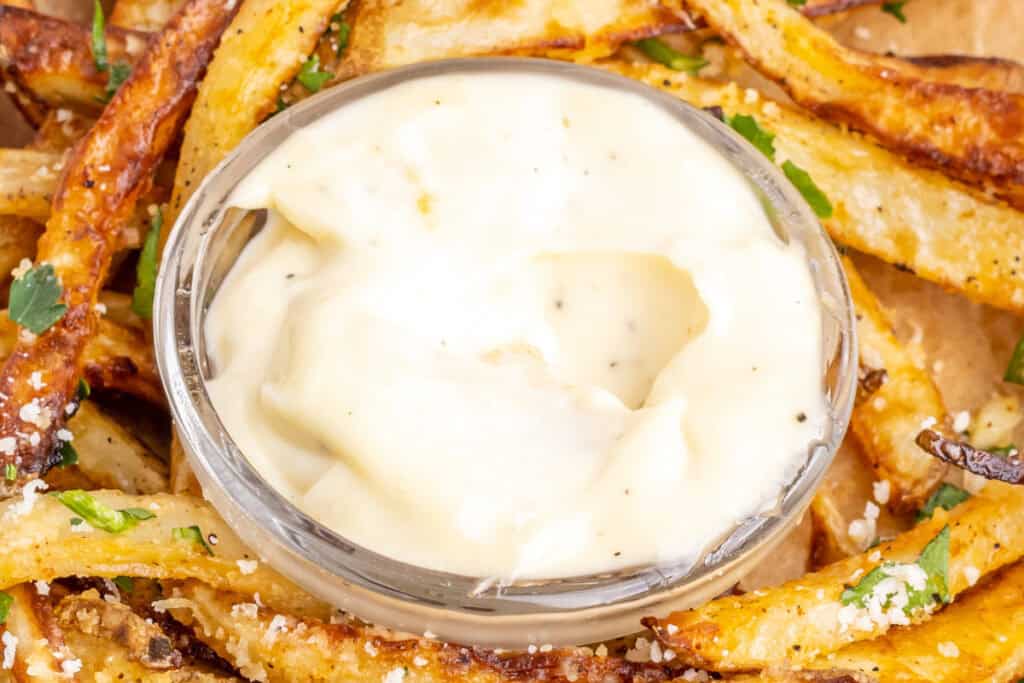
One of the greatest appeals of garlic aioli is its versatility. Whether you’re dipping crispy fries, spreading it on sandwiches, or drizzling it over grilled vegetables, this creamy condiment effortlessly enhances the flavor of any dish. Its adaptability makes it a favorite among home cooks and professional chefs alike.
From dipping to spreading, grilling to garnishing, the possibilities with garlic aioli are endless. Elevate your culinary creations and tantalize your taste buds with homemade garlic aioli sauce’s rich, savory goodness.
Garlic Aioli Sauce: Ingredients & Equipment
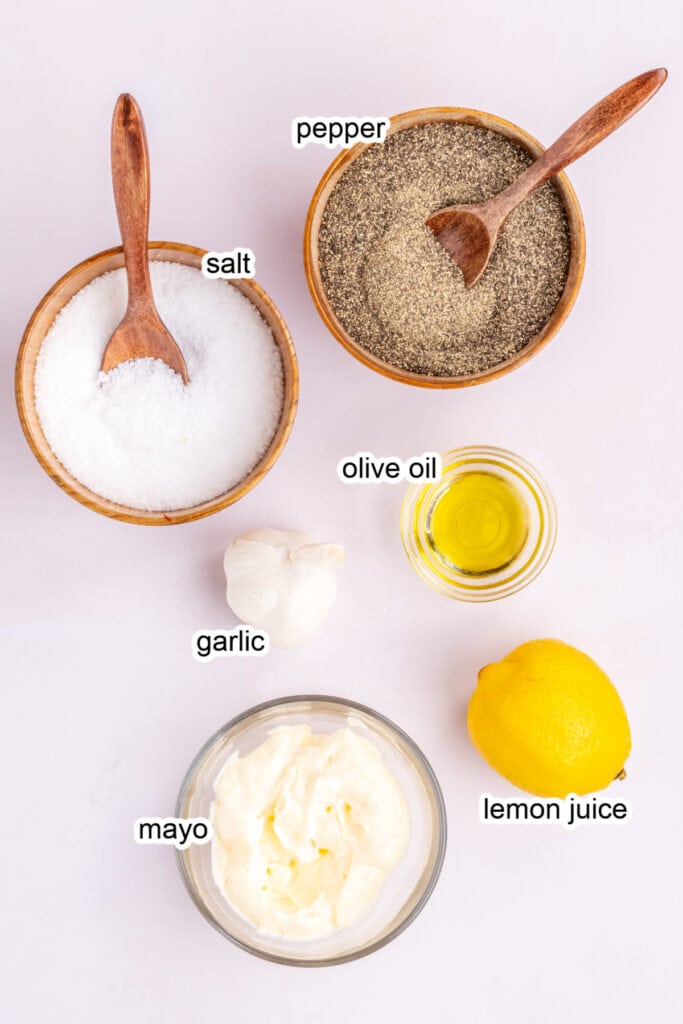
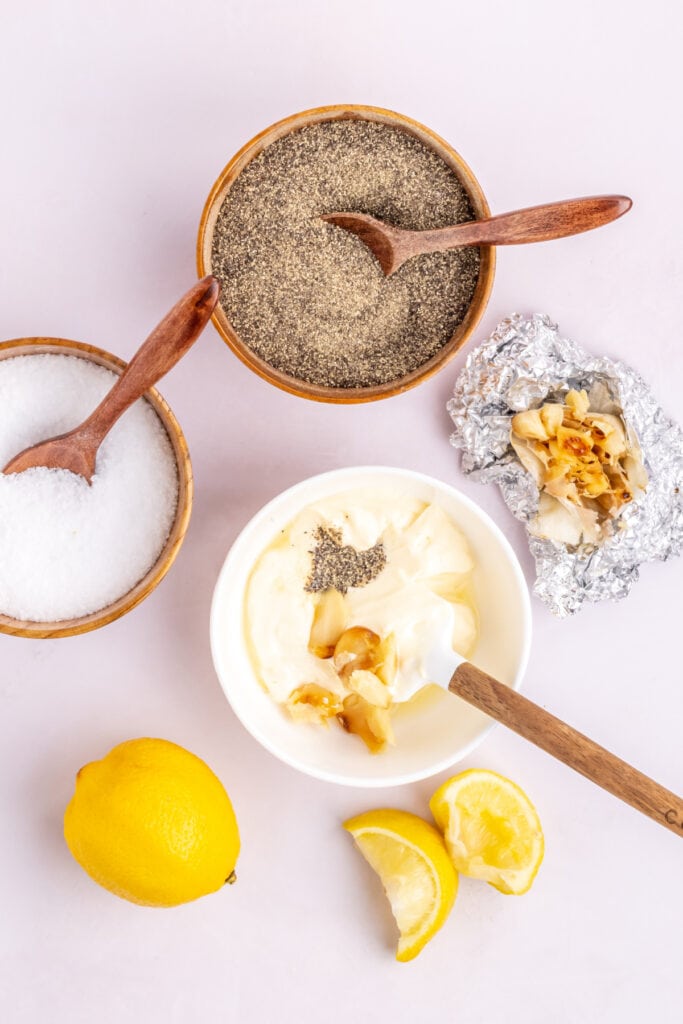
To make this Garlic Aioli recipe, you will need …
Ingredients
- garlic – If you don’t have fresh garlic on hand, you can use garlic powder or minced garlic from a jar. While the flavor won’t be as intense as roasted garlic, it will still add a garlic kick to the aioli.
- olive oil – Any neutral-flavored oil, such as vegetable oil or canola oil, can be substituted for olive oil. Keep in mind that this may slightly alter the flavor profile of the aioli.
- mayonnaise – If you prefer a lighter option, you can substitute mayonnaise with Greek yogurt or sour cream for a tangier aioli. Alternatively, you can use vegan mayonnaise for a plant-based version.
- lemon juice – Freshly squeezed lemon juice provides a bright acidity to the aioli, but you can substitute it with white wine vinegar or apple cider vinegar if needed. Adjust the amount to taste.
- salt and ground black pepper – These are essential for seasoning the aioli, but you can customize the amounts based on your preference. You can also add additional herbs and spices like parsley, chives, or paprika for extra flavor.
Equipment
- aluminum foil
- air fryer or oven
- small bowl
- utensil for stirring
How to make Garlic Aioli
Serving Suggestions for Garlic Aioli
This Garlic Aioli recipe is incredibly versatile and pairs well with a variety of dishes. Here are some serving suggestions to enjoy this flavorful sauce:
- Dipping: Serve it as a dip for crispy french fries, sweet potato fries, onion rings, or vegetable sticks like carrots, celery, and bell peppers.
- Seafood: Use it as a dipping sauce for seafood favorites such as fried calamari, shrimp skewers, or fish tacos. It adds a creamy and zesty element to seafood dishes.
- Sandwiches and Burgers: Spread it on sandwiches and burgers as a flavorful condiment. It complements grilled chicken sandwiches, beef burgers, or even vegetarian options like portobello mushroom burgers.
- Vegetables: Use it as a dressing or dipping sauce for roasted or grilled vegetables. It adds a burst of flavor to dishes like roasted asparagus, grilled zucchini, or cauliflower bites.
- Wraps and Wraps: Drizzle it inside wraps and burritos for an extra layer of creaminess and flavor. It pairs well with grilled chicken, steak, or vegetable fillings.
- Salads: Use it as a creamy dressing for salads, particularly for hearty salads with ingredients like roasted vegetables, quinoa, or chickpeas.
- Meat and Poultry: Serve it as a dipping sauce or condiment for grilled meats and poultry such as steak, chicken tenders, or lamb kebabs.
- Appetizers: Use it as a topping or dipping sauce for appetizers like croquettes, stuffed mushrooms, or bruschetta.
Whether you’re hosting a party, enjoying a casual meal, or adding flair to everyday dishes, this Garlic Aioli recipe has a rich and savory flavor profile that is sure to elevate your culinary creations.
Garlic Aioli: FAQs
 Can I make garlic aioli ahead of time?
Yes, it can be made ahead of time and stored in an airtight container in the refrigerator for up to 3-4 days. Make sure to give it a good stir before serving.
Is garlic aioli gluten-free?
The basic ingredients of garlic aioli—garlic, oil, egg yolks, and lemon juice—are naturally gluten-free. However, always check the labels of store-bought mayonnaise to ensure it’s gluten-free, or use a homemade mayo recipe to guarantee it meets dietary restrictions.
Can I freeze this Garlic Aioli recipe?
While you can freeze it, it may change in texture when thawed due to the emulsified nature of the sauce. It’s best to consume it fresh or refrigerate for short-term storage.
Can I customize the flavor of garlic aioli?
Absolutely! You can customize the flavor of garlic aioli by adding herbs and spices such as parsley, basil, dill, or smoked paprika. Experiment with different flavor combinations to suit your taste preferences.
Can I roast garlic without an air fryer?
Yes! Preheat your oven to 400°F (200°C). Cut off the top of a head of garlic to expose the cloves. Drizzle the exposed cloves with olive oil and wrap the head tightly in aluminum foil. Place the wrapped garlic head on a baking sheet or directly on the oven rack and roast in the preheated oven for about 35-45 minutes, or until the cloves are soft when pressed and lightly golden brown. Once roasted, allow the garlic to cool slightly before handling. Then, carefully unwrap the foil and squeeze the roasted garlic cloves out of their skins. The cloves should be soft and caramelized, perfect for making garlic aioli.

Garlic Aioli
#wprm-recipe-user-rating-1 .wprm-rating-star.wprm-rating-star-full svg * { fill: #343434; }#wprm-recipe-user-rating-1 .wprm-rating-star.wprm-rating-star-33 svg * { fill: url(#wprm-recipe-user-rating-1-33); }#wprm-recipe-user-rating-1 .wprm-rating-star.wprm-rating-star-50 svg * { fill: url(#wprm-recipe-user-rating-1-50); }#wprm-recipe-user-rating-1 .wprm-rating-star.wprm-rating-star-66 svg * { fill: url(#wprm-recipe-user-rating-1-66); }linearGradient#wprm-recipe-user-rating-1-33 stop { stop-color: #343434; }linearGradient#wprm-recipe-user-rating-1-50 stop { stop-color: #343434; }linearGradient#wprm-recipe-user-rating-1-66 stop { stop-color: #343434; }
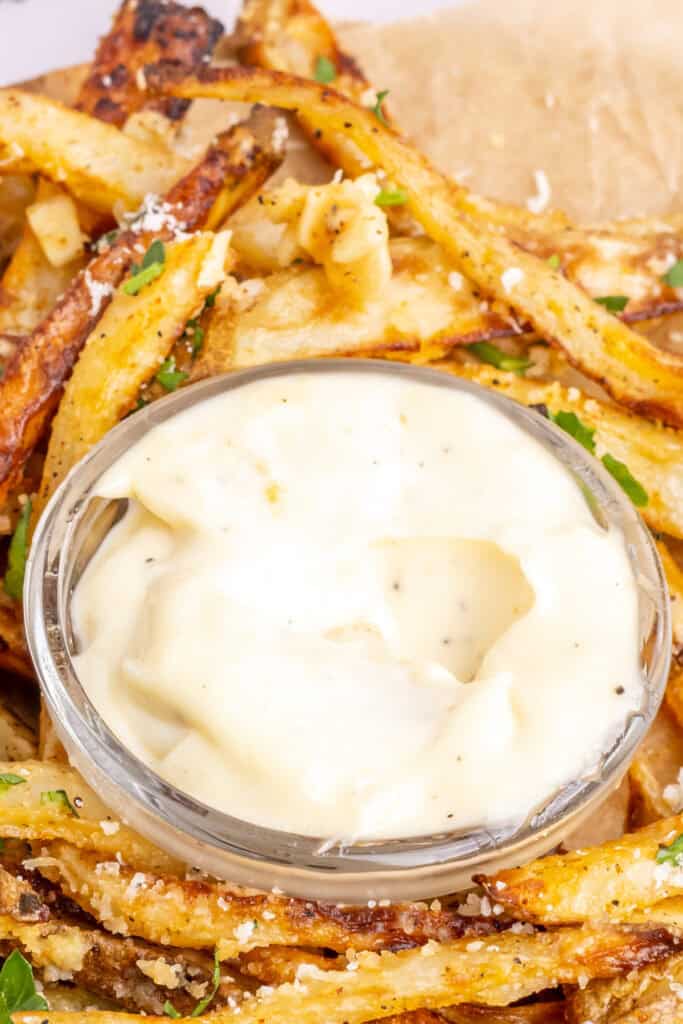
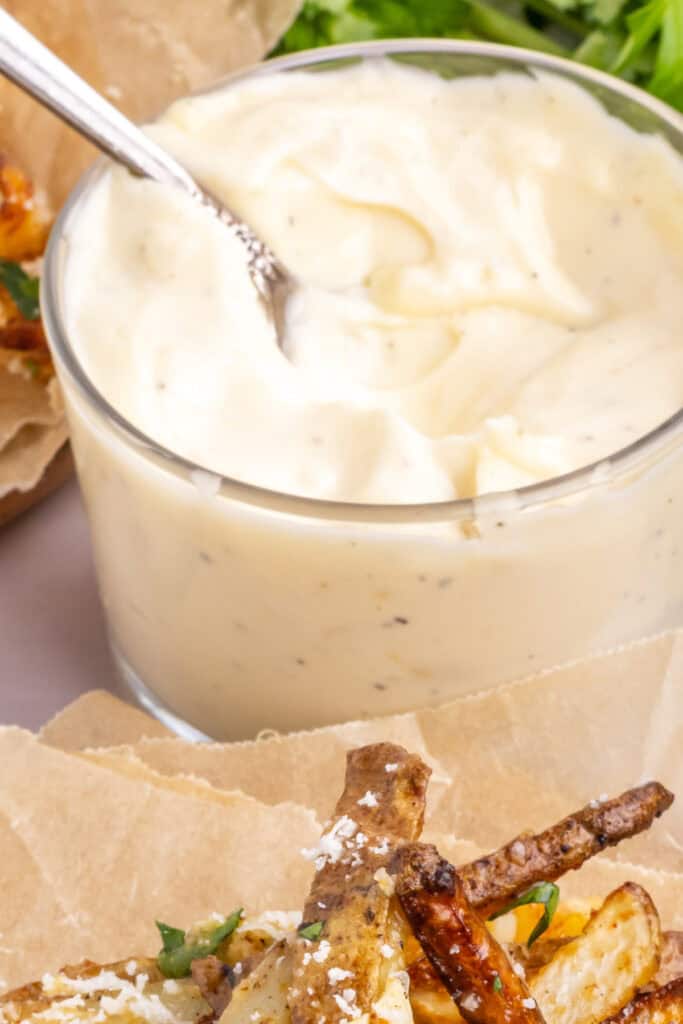
It's quick and easy to make homemade Garlic Aioli, crafted with roasted garlic, mayo, and zesty lemon juice – ideal for dipping or spreading!
Course Homemade Mixes, Sauces & CondimentsCuisine Mediterranean
Prep Time 30 minutes Total Time 30 minutes
Servings 4 servings
Calories 201kcal
Equipment
- Heavy Duty Aluminum Foil
- Air Fryer
- tongs
- Mixing Bowls with Airtight Lids, 6 Piece Stainless Steel Metal Bowls
- 11-Inch Balloon Whisk
Ingredients
- 1 head garlic
- 1 teaspoon olive oil
- ½ cup mayonnaise
- 2 teaspoons lemon juice freshly squeezed
- ¼ teaspoon salt
- ¼ teaspoon ground black pepper
Instructions
- Preheat your air fryer to 390°F (200°C).
- Cut off the top of the head of garlic and drizzle it with olive oil (1 teaspoon). Wrap it tightly in aluminum foil.
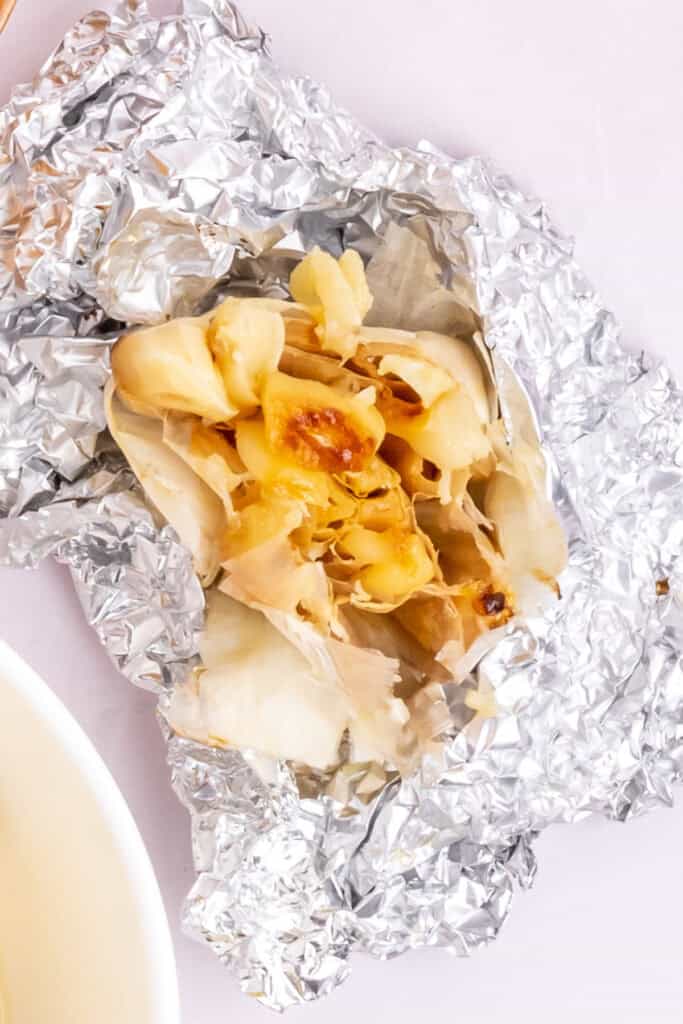
- Place the wrapped garlic directly in the air fryer basket and cook for 25 minutes or until the cloves are soft when pressed and lightly golden brown.
- Once the garlic is roasted, carefully unwrap it and squeeze the garlic cloves out of their shell into a small bowl.
- To the bowl, add the mayonnaise, freshly squeezed lemon juice, salt, and pepper.
- Mix all the ingredients until fully incorporated.
- Your delicious Garlic Aioli is ready to be served! Enjoy it as a dip or spread for your favorite dishes.
Notes
- Garlic Aioli can be made ahead of time and stored in an airtight container in the refrigerator for up to 3-4 days. Make sure to give it a good stir before serving.
- Freezing is not recommended.
How to make Roasted Garlic without an air fryer:
You can roast garlic without an air fryer using a conventional oven. Here’s how:
- Preheat the Oven: Preheat your oven to 400°F (200°C).
- Prepare the Garlic: Cut off the top of a head of garlic to expose the cloves. Drizzle the exposed cloves with olive oil and wrap the head tightly in aluminum foil.
- Roast the Garlic: Place the wrapped garlic head on a baking sheet or directly on the oven rack and roast in the preheated oven for about 35-45 minutes, or until the cloves are soft when pressed and lightly golden brown.
- Cool and Use: Once roasted, allow the garlic to cool slightly before handling. Then, carefully unwrap the foil and squeeze the roasted garlic cloves out of their skins. The cloves should be soft and caramelized, perfect for making garlic aioli.
Nutrition
Serving: 2tablespoons | Calories: 201kcal | Carbohydrates: 1g | Protein: 0.3g | Fat: 22g | Saturated Fat: 3g | Polyunsaturated Fat: 13g | Monounsaturated Fat: 5g | Trans Fat: 0.1g | Cholesterol: 12mg | Sodium: 323mg | Potassium: 13mg | Fiber: 0.1g | Sugar: 0.2g | Vitamin A: 19IU | Vitamin C: 1mg | Calcium: 4mg | Iron: 0.1mg
The post Garlic Aioli appeared first on Love Bakes Good Cakes.